
Mountain biking is a thrilling outdoor activity that combines physical fitness, adventure, and the joy of exploring nature. Whether you’re riding over rocks, across streams, or through winding singletrack trails, the sport offers a unique blend of excitement and challenge. For beginners, the learning curve can feel steep, but with the right skills, gear, and mindset, you’ll be shredding trails confidently in no time. This guide compiles essential tips and tutorials to help you enhance your mountain biking skills, from bike setup to mastering technical terrain.
Essential Gear for Beginner Mountain Bikers
Must-Have Equipment
- Helmet: A properly fitting helmet is non-negotiable. Ensure it meets safety standards and fits snugly.
- Gloves: Protect your hands from blisters and enhance grip with padded mountain bike gloves.
- Protective Eyewear: Sunglasses or clear lenses shield your eyes from dust, bugs, and branches.
- Shoes: Choose hard-toed shoes with good grip, compatible with either flat or clipless pedals.
- Hydration Pack: Carry enough water for long rides, as trails may lack water sources.
- Repair Kit: Pack a spare tube, pump, multi-tool, and tire levers for trailside fixes.
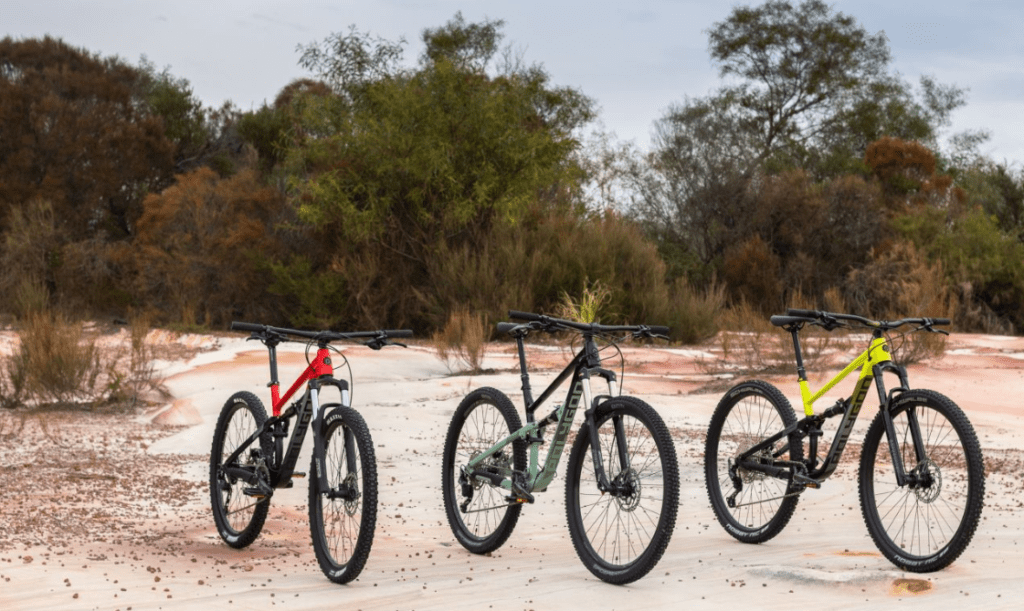
Choosing the Right Bike
Invest in a bike you can grow into. A slightly higher-end model than you think you need will serve you better as your skills progress. For beginners, an aluminum frame is recommended over carbon due to its durability and lower cost, especially if you plan to tackle bike parks or technical trails. Ensure the bike fits your body: you should be able to straddle the top tube with your feet flat on the ground, and the saddle height should allow a slight bend in your knee at the bottom of the pedal stroke.
| Frame Material | Pros | Cons | Best For |
|---|---|---|---|
| Aluminum | Durable, affordable, lightweight | Less vibration absorption | Beginners, bike parks |
| Carbon | Lightest, strong, absorbs vibrations | Expensive, prone to damage | Cross-country, experienced riders |
Recommended Product: Mountain Bike Helmet
A high-quality helmet is critical for safety. The Giro Montaro MIPS Helmet offers MIPS technology for enhanced protection and is ready for any trail.
Bike Setup for Optimal Performance
Saddle Height and Fit
Saddle height is one of the most crucial aspects of bike fit. When your foot is on the pedal at the six o’clock position, your leg should not be completely straight but rather have a slight bend in the knee. A professional bike fit can fine-tune this, but you can estimate it yourself by adjusting the saddle until your leg is comfortably extended.
Suspension Setup
As a beginner, take a moment to know how to lock out and open up your suspension. This will help avoid accidentally rolling out onto a crazy technical trail with a fully rigid bike (it happens!). Both the front fork and rear shock on most mountain bikes work via air pressure, and the right amount of air pressure is determined by your weight. Practice setting the sag (how much travel you use just sitting on the bike) to ensure a smooth ride over rough terrain.
Brake and Handlebar Adjustments
Small details such as ensuring your brake placement on the handlebars is appropriate for your reach and that your saddle isn’t too far forward or back go a long way towards navigating the trail successfully. If your mountain bike has disc brakes, keep the index finger of each hand on the brake levers and your other three fingers on the handlebar grips for sufficient braking power and control.
Fundamental Mountain Biking Skills
Body Position
Perhaps the biggest key to successful mountain biking is your body position. There are two primary body positions: neutral and ready. When you’re riding non-technical sections of trail, you want to be in a neutral position on the bike. This keeps you rolling along efficiently and comfortably while allowing you to easily transition into the ready position for technical terrain. The neutral position includes:
- Eyes looking forward about 15 to 20 ft. ahead; look where you want to go, not where you don’t.
- Pedals horizontal for maximum stability.
- Center of gravity directly above the bottom bracket for optimal balance.
- Arms and legs slightly bent, elbows outward in a “gorilla position” for mobility.
For technical terrain, shift to the ready position: hover your butt off the saddle, flare out your elbows and knees, and keep your weight centered to let the bike move beneath you.
Braking Techniques
Understanding how to use your brakes efficiently is essential for maintaining control on the trails. Use both your front and rear brakes simultaneously to stop safely. Gradually squeeze the brake levers rather than grabbing them, as sudden braking can cause skidding and loss of control. When approaching a turn, brake before you hit the turn, and then let your momentum carry you through. Resist the temptation to grab both brakes hard, especially the front brake, as stopping your front tire will send you over the bars. Hit the rear brake instead if you’re going too fast into a turn; you might skid, but you’re more likely to stay upright.
Cornering Skills
No matter what level of rider you are, cornering is a skill you can never stop improving. It’s the number-one place where riders kill their speed. Set up early, in a wide, crouched stance on equally weighted pedals, opening the knees so the bike can lean beneath you. Lean the bike, not your body, to get those side knobs on your tires to grab traction and hold the edge. Brake before the turn, easing off as you carve, and look through to the exit, turning your body. Imagine your belly button is a laser, and point it toward the exit.
Climbing and Descending
When climbing a tough pitch, shift your weight forward and lean forward to keep your center of gravity over the rear wheel to maintain traction. Shift to a lower gear just before the incline starts to maintain a comfortable cadence. When descending, maintain a low and balanced body position with bent knees and elbows. Position your weight evenly between the front and rear wheels, and use your front brake with caution to avoid lifting the rear wheel off the ground. Look ahead, choose your line, and remain relaxed to navigate the descent smoothly.
Momentum and Line Choice
Momentum is your best friend out there, maintain it whenever you can. It’s going to feel counterintuitive, but holding speed¡ªand even speeding up¡ªwhen the terrain gets challenging makes clearing tough sections of trail easier because your bike has the one thing it needs most to keep moving forward: momentum. Pick a path and stick to it to get over and around tricky sections of trail. Scan ahead for hazards like loose rocks, deep sand, or wet roots by looking about 15–20 ft. down the trail, then move your eyes back toward your tire to take in information and adjust your balance.
Advanced Techniques to Build Confidence
Track Stand
If there’s one skill to learn that will instantly boost your confidence and mountain biking abilities, it’s the track stand. A track stand is basically being able to stand up on your bike at a standstill. This is important for control and balance on steep roll downs, tight switchbacks, and technical climbs. Try spending 5 minutes before each ride working on your balance to master this skill.
Front Wheel Lift
The first part of getting over obstacles is lofting your front wheel onto and over things so that you can roll over them. Start with your dominant foot at the top of the pedal stroke¡ªone o’clock¡ªand give the pedal a hard punch to six o’clock. At the same time, lean back with your shoulders, straightening your arms, and feel your front wheel rise. As soon as your front wheel clears the obstacle and lands, stand on the pedals in a crouched position, with bent arms, and give the handlebars a forceful shove to lunge the rear wheel over.
Manuals and Wheelies
The manual can be useful in many of the same situations as a wheelie, and it looks super cool. If you learn to manual for 2-3 bike lengths, you have achieved most of the useful elements of the skill. Wheelies can help keep your front wheel out of larger wheel-swallowing dips in the trail, allow you to place your front wheel where you want it, and add style to your riding. Practice these in a safe, open area before attempting them on trails.
Training and Progression Tips
Ride with Better Riders
Repetition and more miles will naturally progress your skills and fitness. However, another great idea is to ride with people who are better than you. Try to keep up on a climb or through a downhill section. Other riders can also observe how you are riding and give you pointers. Pretty soon you’ll be addicted to the pursuit of speed and you’ll be flying yourself.
Take a Lesson
The number one most important thing a new mountain biker can do to ensure a safe and fun mountain bike journey is TAKE A LESSON! There is no substitute for learning skills the right way and practicing in front of a skilled instructor who can help you in a safe environment. Organizations like Ladies AllRide and Ninja Mountain Bike Performance offer clinics across the US and Canada to boost your skills.
Practice at Bike Parks
Mountain bike skills parks are popping up everywhere from jump-and-pump tracks under urban overpasses to lift-serviced trails at ski resorts. These parks are great places for beginners to hone their skills, with features like elevated bridges, halfpipes, jumps, berms, and banked corners. Spend time at a pump track to practice pumping into your suspension and taking control of your bike.
Trail Etiquette and Safety
Trail Etiquette
Mountain biking is a shared activity, and it’s important to practice good trail etiquette to ensure a positive experience for everyone. Yield to other riders and hikers, and always announce your presence when passing. Stay on designated trails to minimize environmental impact, and avoid cutting corners or creating new trails. Be aware of trail conditions like loose gravel or mud, and select well-maintained tracks that match your riding abilities.
Safety Tips
- Always carry a first-aid kit and know basic trailside repairs like fixing a flat or adjusting a twisted handlebar.
- Ride within your skill level, starting with green (beginner) trails before progressing to blue or black trails.
- Check weather conditions and avoid riding on wet or muddy trails to prevent trail damage.
- Learn to fall safely by keeping your arms in to avoid broken wrists or collarbones.
Recommended Product: Mountain Bike Repair Kit
Be prepared for trailside fixes with the Crankbrothers M19 Multi-Tool, a compact toolset for quick repairs on the go.
Frequently Asked Questions
What is the best type of mountain bike for beginners?
A hardtail mountain bike with an aluminum frame is ideal for beginners due to its affordability, durability, and simplicity. Cross-country (XC) bikes are great for mellow trails, while trail bikes offer versatility for varied terrain.
How can I improve my mountain biking skills quickly?
Practice consistently, ride with more experienced riders, and take a skills clinic. Focus on one skill at a time, like braking or cornering, and gradually increase trail difficulty as you gain confidence.
What should I do if I fall while mountain biking?
Stay calm, check for injuries, and assess your bike for damage. Carry a multi-tool and first-aid kit for minor repairs and scrapes. If you’re unsure, walk your bike to safety and seek help if needed.
Are clipless pedals necessary for beginners?
No, flat pedals are better for beginners as they allow easy foot placement and build confidence. As skills improve, you can transition to clipless pedals for better power transfer, practicing on soft terrain first.
How do I choose the right trail for my skill level?
Start with green (beginner) trails, which are smooth with gentle slopes. Check trail ratings on apps like Trailforks or MTB Project, and consult local bike shops or clubs for recommendations.